

A cluttered basement is one of the most common household challenges, a space where belongings go to be forgotten. For homeowners in Markham, Mississauga, Brampton, and across the GTA, tackling this project can feel like an insurmountable task. However, a systematic, step-by-step approach makes a full basement cleanout not only manageable but also empowering. This guide breaks down the process into clear, actionable stages, helping you transform your basement from a storage nightmare into a clean, usable space without the overwhelm.
Step 1: Preparation and Mindset – Your Project Foundation
Success begins before you set foot in the basement. Rushing in without a plan is the fastest way to burn out.
Set a Clear Goal: What is the purpose of this basement cleanout? Is it to create a home gym, a playroom, or simply to achieve organized storage? Your goal will guide every decision.
Schedule Realistic Time: Block out at least one full weekend. If your basement is very large or packed, consider planning for two separate weekends, one for sorting and one for removal/cleaning.
Gather Your Supplies: Assemble heavy-duty garbage bags, cardboard boxes, a permanent marker, labels, work gloves, a dust mask, safety glasses, and a broom/vacuum.
Step 2: The Initial Assessment and Zoning
Don’t start moving things yet. Begin with a strategic walkthrough.
Conduct a Visual Survey: Turn on all lights and walk through the space. Make mental notes of problem areas, large items (old furniture, appliances), and any signs of moisture or pests.
Create a Work Plan: Divide the basement into logical zones (e.g., “under the stairs,” “north wall storage,” “laundry area”). You will tackle one zone at a time to maintain focus and a sense of accomplishment.
Check Access: Ensure the path from the basement to the exit is clear and that you have a designated staging area on the main floor or driveway for sorted items.
Step 3: The Sorting Process – One Zone at a Time
This is the most critical and time-consuming step. Work zone-by-zone to avoid creating a bigger mess.
Implement the Four-Pile System: In each zone, sort every single item into one of four categories:
- Keep: Items you actively use, have significant sentimental value, or that fit your new vision for the space.
- Donate/Sell: Gently used items that are no longer needed but could benefit someone else.
- Recycle: Cardboard, paper, metals, plastics, and electronics.
- Trash/Junk: Broken, stained, expired, or worthless items.
Ask the Key Questions: For each item, ask: “Have I used this in the past two years?” and “Does this support my life as it is now?” If the answer is no, it’s likely a candidate for donation or trash. Be decisive to avoid the “maybe” pile, which is the enemy of progress in any basement cleanout.
Step 4: Special Considerations and Hazard Handling
Basements often contain unique items that require special attention.
Handle with Care:
- Electronics (E-Waste): Set aside old computers, monitors, and cables. These cannot go in regular trash and require special recycling.
- Hazardous Materials: Identify old paint cans (liquid), chemicals, solvents, or batteries. These cannot be picked up by standard junk removal and must be taken to a municipal Household Hazardous Waste (HHW) depot. Residents in Pickering, Oshawa, Richmond Hill, and other GTA communities have access to these facilities.
- Personal Documents: Shred any sensitive papers before recycling them.
Step 5: Deep Cleaning the Emptied Space
Once a zone is completely sorted and items are removed from the immediate area, take the opportunity to clean.
Cleaning Tasks:
- Sweep and vacuum the floor thoroughly, removing dust, cobwebs, and debris.
- Wipe down shelves, walls, and baseboards.
- Inspect for any moisture issues, mold, or pest activity that should be addressed before bringing “keep” items back in.
This clean slate is motivating and ensures your belongings return to a fresh environment.
Step 6: Responsible Removal – The Make-or-Break Step
You are now left with the tangible results of your hard work: piles of trash, recyclables, and donations. This is where many basement cleanout projects stall due to the sheer physical and logistical challenge.
Your Removal Options:
- The DIY Struggle: Involves countless trips in your car to the landfill (paying tipping fees), the recycling depot, and donation centers. It’s exhausting, time-consuming, and impractical for large furniture.
- Municipal Limitations: Curbside pickup has strict limits and won’t handle large volumes or bulky items.
- The Efficient Solution: This is the step where professional basement cleanout services prove their value. A company like Live Junk Free can be scheduled to handle all the heavy lifting and responsible disposal in one visit.
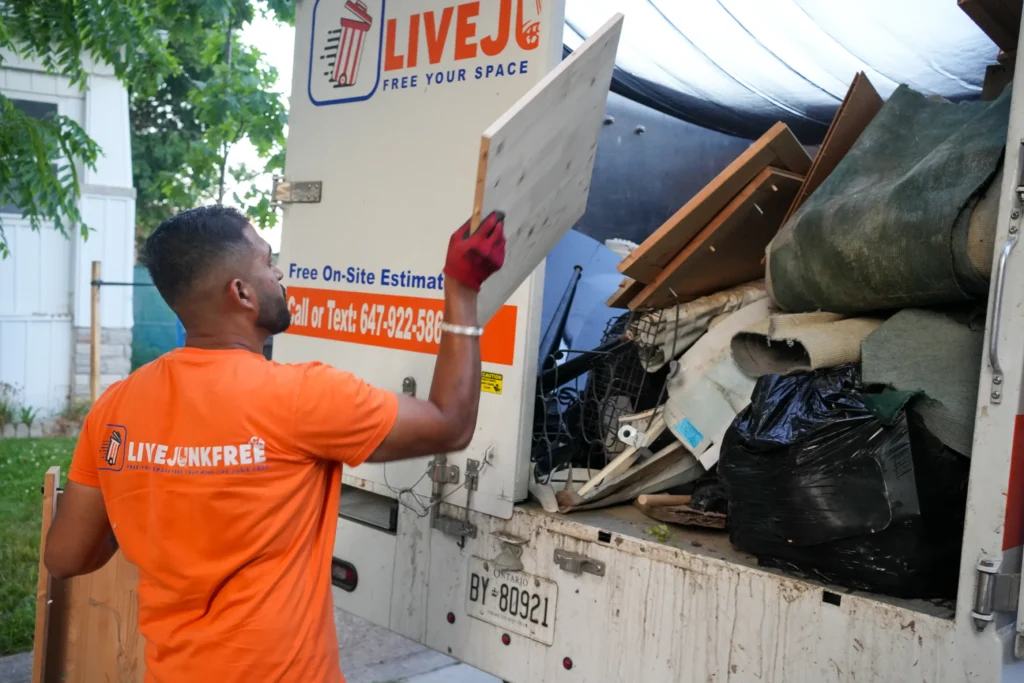
Live Junk Free: Your Partner for the Final Haul
We specialize in completing the basement cleanout process. When you’ve done the sorting, we handle the hardest part.
How We Help:
- We provide an upfront quote based on the volume of your junk and donation piles.
- Our insured team does all the heavy lifting, safely navigating stairs and tight spaces.
- We ensure eco-friendly disposal, maximizing donations to local GTA charities and proper recycling.
- We leave your basement empty and broom-swept, ready for its next purpose.
We serve homeowners in Ajax, Aurora, Bolton, Bradford, Brampton, Caledon, East Gwillimbury, Etobicoke, Georgina, King City, Markham, Mississauga, Newmarket, Nobleton, Oshawa, Pickering, Port Perry, and Richmond Hill.
Step 7: Reorganization and Future Planning
With the basement cleared and cleaned, only the “Keep” items come back in.
Organize with Intention:
- Use sturdy, clear plastic bins with labels for anything you store.
- Install shelving units to keep everything off the floor.
- Respect your new zones to maintain order.
Maintain the Momentum:
- Adopt a “one in, one out” rule for new items.
- Schedule a seasonal quick review to prevent re-cluttering.
Conclusion
A successful basement cleanout is achieved by following a deliberate, step-by-step plan. From setting your vision and sorting with purpose to the final, crucial step of responsible removal, each phase builds toward reclaiming your space. By understanding the process, you can approach the project with confidence. Remember, the most significant physical barrier to removing the sorted junk can be efficiently solved with professional help. Ready to take back your basement? Follow these steps, and when you reach the piles of junk, contact Live Junk Free. We’ll handle the heavy lifting, completing your transformation from cluttered chaos to a clean, potential-filled space.