

Approaching a full storage unit can feel daunting. The sight of stacked boxes and forgotten furniture often leads to procrastination, yet it’s the crucial first step that determines the success of your storage unit cleanouts. Effective organization and sorting before the physical removal begins can dramatically reduce time, stress, and cost. Whether you plan to tackle the job yourself or hire a professional service like Live Junk Free, these strategic tips will help you transform chaos into an orderly plan, making your storage unit cleanouts efficient and manageable.
The Pre-Cleanout Mindset: Strategy Over Speed
The key to successful storage unit cleanouts is to prioritize systematic planning over rushed action. Taking time to organize your approach will save hours of frustration later.
Shift Your Perspective
View the storage unit not as a monolithic problem, but as a series of smaller, manageable decisions. This mindset is particularly helpful for residents in busy GTA communities like Mississauga, Markham, or Brampton, where time is precious. The goal of pre-sorting is to minimize the decision-making required on cleanout day itself.
Set Realistic Goals
Before you unlock the unit, establish clear objectives:
- Define what “success” looks like for your storage unit cleanouts (e.g., empty unit, certain items retrieved, specific sections cleared).
- Decide on a realistic budget for the project, including potential professional help.
- Determine your timeline. Rushing leads to poor decisions; dragging it out leads to abandonment.
The Essential Pre-Visit: Assessment Without Pressure
Your first trip to the unit should be for reconnaissance only, not for heavy lifting. This critical step informs your entire storage unit cleanout strategy.
The Assessment Toolkit
Bring only a notepad, phone (for photos), and a pen on this initial visit. Your tasks are:
- Document: Take wide-angle photos and videos of the unit from all angles. This helps you plan remotely and is invaluable if getting a quote for professional storage unit cleanouts.
- Categorize from Afar: Make a simple list of general categories you can see (e.g., “boxes of books,” “old furniture,” “holiday decorations,” “unsorted bins”).
- Identify the Keepers: If you spot a few specific items you know you want to save, note their location for easy retrieval later.
- Check Conditions: Look for signs of water damage, pests, or any hazardous materials that may need special handling.
Creating Your Sorting Framework: The Four-Zone Method
Before moving a single box, establish a clear mental or physical sorting system. This framework is the engine of efficient storage unit cleanouts.
The Four Decision Categories
Label four distinct areas (using signs, colored tape, or separate corners) for:
- Keep: Items to move to your home or a new location.
- Sell/Donate: Items in good condition with residual value.
- Recycle: Designated materials like paper, metal, or electronics.
- Discard: Broken, stained, or worthless items for disposal.
The Guiding Question
For every item you handle, ask: “Have I needed or missed this in the past year?” If the answer is no, it strongly leans toward donate, sell, or discard. This simple filter is the most powerful tool for storage unit cleanouts.
The Strategic Unpacking Order
Tackle the unit in a logical sequence to maintain momentum and ensure safety.
Work from the Door Inward
Never bury yourself in the back. Start with items closest to the door to create working space and an exit path. This is a fundamental safety and efficiency rule for all storage unit cleanouts.
Prioritize by Difficulty
- Start with Easy Wins: Begin with obvious trash or large, simple-to-categorize items (like a broken chair). Quick wins build confidence.
- Then Handle Sentimental Items: Address photo boxes or memorabilia mid-session when you’re focused but not yet tired. Make quick decisions: keep a representative sample, not every single item.
- Leave Complex Items for Last or for Pros: Furniture requiring disassembly or heavy appliances are best handled with help or left for a professional storage unit cleanouts crew with the right tools.
Preparation Logistics: Gathering Your Supplies
Being prepared with the right tools prevents constant trips to the store, saving precious time.
Your Cleanout Day Kit
- Protection: Work gloves, durable shoes, a dust mask, and safety glasses.
- Tools: Box cutter, screwdrivers, flashlight, and a dolly or hand truck if available.
- Sorting Supplies: Heavy-duty garbage bags, clear recycling bags, permanent markers, and colored stickers or tape for labeling.
- Documentation: A clipboard for your inventory/list and your phone for photos of items you might want to sell.
When to Call Live Junk Free: Leveraging Professional Efficiency
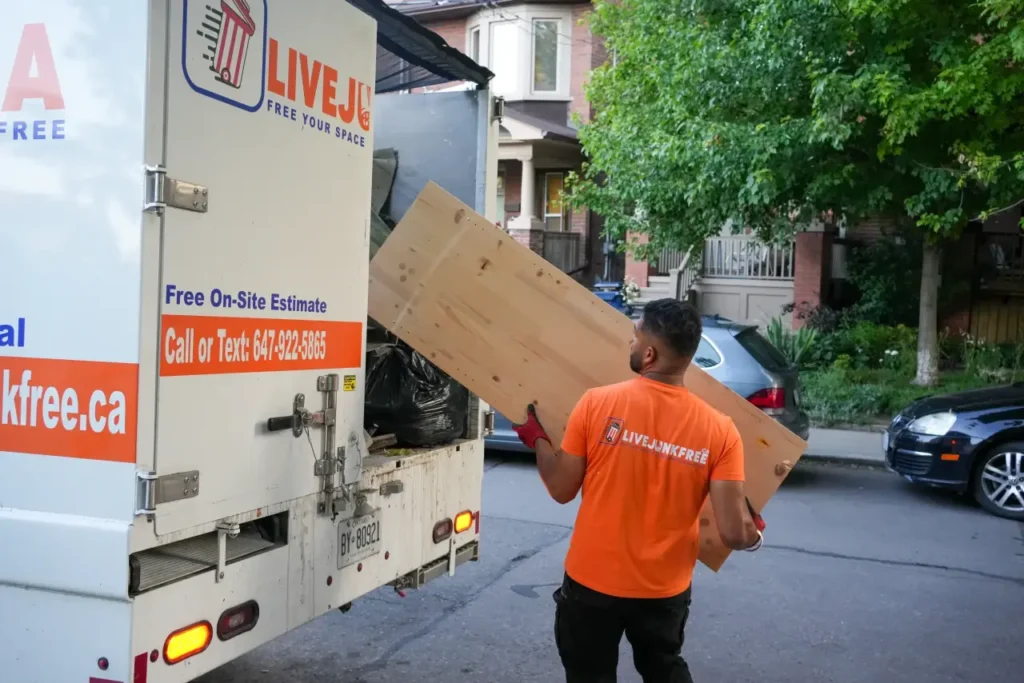
Even with the best pre-sorting, the physical removal and disposal phase is the most demanding part of storage unit cleanouts. Knowing when to call professionals can be the final, crucial tip in your organizing plan.
Signs You Should Hire a Pro
- The volume of “Discard” and “Recycle” piles is overwhelming for your vehicle.
- You discover heavy, bulky items (mattresses, appliances, sofas) that you cannot move safely.
- Your timeline is tight, and you need the unit cleared in a single day.
- The sorting process has left you with a clear plan, but you lack the labor or means to execute it.
How We Integrate With Your Prep Work
When you hire Live Junk Free for storage unit cleanouts, your pre-sorting pays off immediately:
- Clear Zones: If you’ve created “Keep,” “Donate,” and “Discard” piles, our crew can work with lightning efficiency.
- Informed Quote: Your pre-assessment photos allow us to give you an accurate, transparent quote upfront.
- Focused Service: We handle the heavy lifting, loading, and responsible disposal, turning your organized plan into a completed reality.
Maximizing Value as You Sort
While the primary goal is clearing space, storage unit cleanouts can also recover some value.
Quick Value Assessment
As you sort, set aside items that are:
- In clearly excellent, sellable condition.
- Recognizable brands or antiques.
- Complete sets (e.g., dishware, tools).
The Realistic Approach to Selling
For most items, the time and effort of selling may not be worth it during a move or urgent cleanout. Prioritize a quick sale (Facebook Marketplace, a one-day garage sale) for higher-value items only, and plan to donate the rest. Professional storage unit cleanout services can often facilitate donations for you.
Live Junk Free: Serving Your Organized Cleanout
At Live Junk Free, we see ourselves as the final piece of your storage unit cleanouts puzzle. We serve clients who have done the hard work of decision-making and need expert help with the execution.
Our service areas across the GTA include:
Ajax, Aurora, Bolton, Bradford, Brampton, Caledon, East Gwillimbury, Etobicoke, Georgina, King City, Markham, Mississauga, Newmarket, Nobleton, Oshawa, Pickering, Port Perry, and Richmond Hill.
Our Role
We bring the manpower, truck capacity, and disposal expertise to complete your storage unit cleanouts quickly, safely, and responsibly, with a focus on donation and recycling.
Conclusion
Effective storage unit cleanouts are won in the planning and sorting stages. By adopting a strategic mindset, creating a simple sorting framework, and working methodically, you transform an overwhelming task into a series of clear, actionable steps. This preparation not only saves you time and stress but also ensures that when you or a professional team like Live Junk Free execute the final removal, it is done with maximum efficiency and minimum hassle. Ready to turn your organized plan into an empty unit? Contact Live Junk Free to complete your storage unit cleanouts journey.